Zoom and Teams Setup
Zoom Setup
You can download Zoom Here.
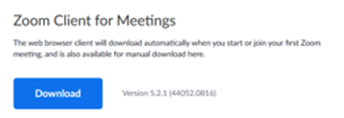
Select ‘Download’ under ‘Zoom Client for Meetings.
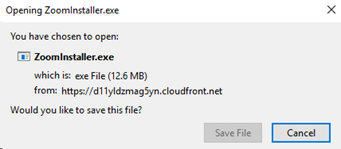
You will be asked to ‘Save File’. Once the ZoomInstaller.exe is saved in your chosen location, double click on the Zoom icon and hit ‘Run’ to complete the install.
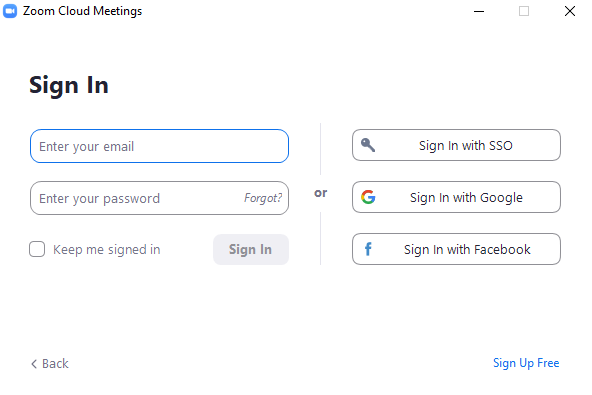
You'll need a Zoom account to sign in. Use login details from SSO (often your workplace or an institution), Google, and Facebook. Or, if you'd like to create a new account, select ‘Sign Up Free’.
Once you've signed in, the main application page looks like this:
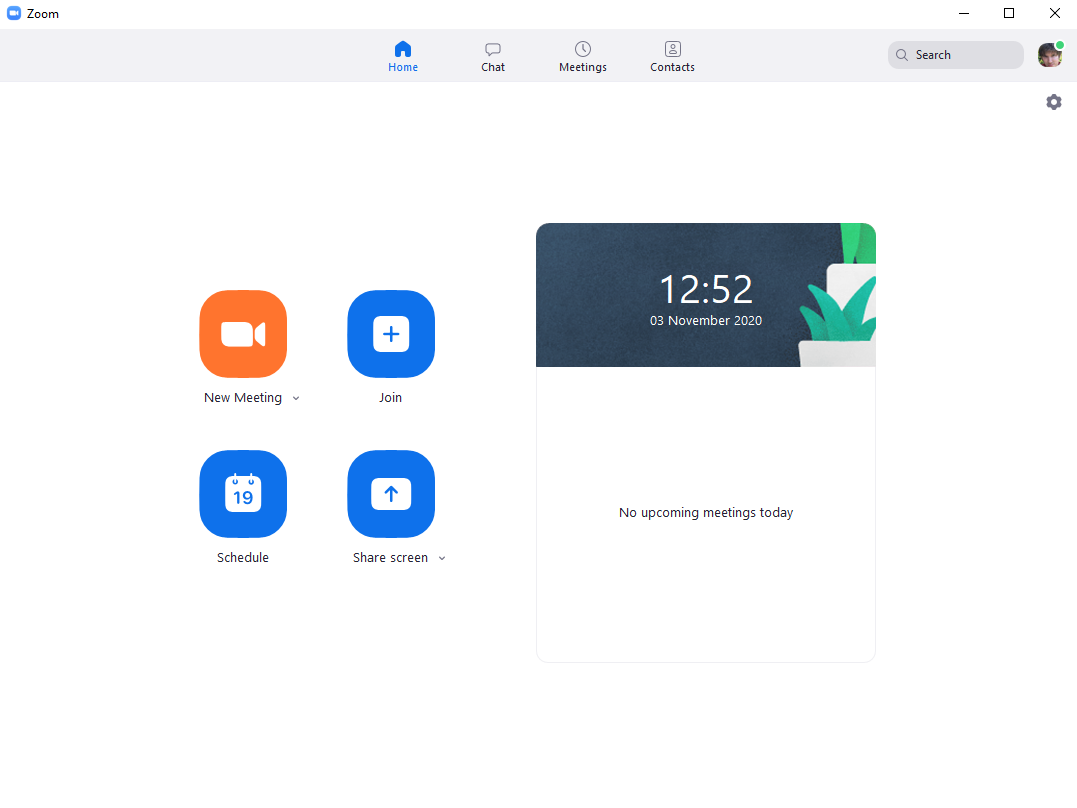
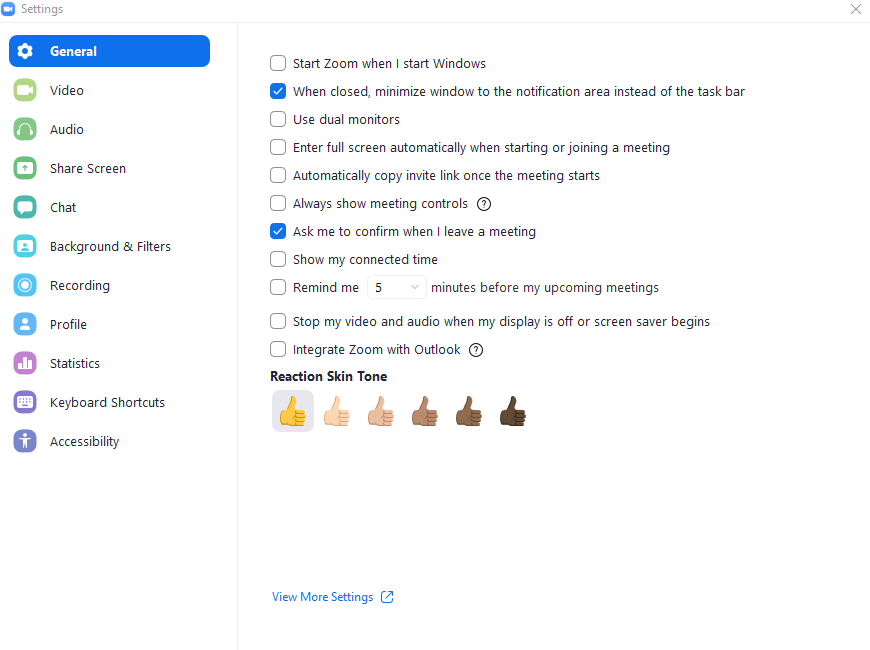
Now it's time to enable Zoom so you can broadcast your VR lessons via edify. Select ‘Settings’ and go to the ‘General’ tab.
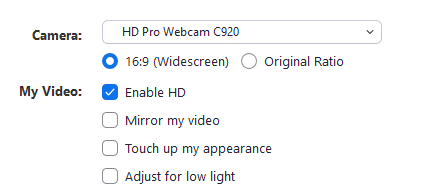
Select the ‘Video’ tab to open new options. Choose ‘Edify Camera’ from the dropdown menu.
You will also need to set some advance settings using the 'Advanced' button at the bottom of the page.
Here, you need to change the “Video Rendering Method” to Direct3D11. The other options, with the exception of “Direct3D11 Flip Mode”, are also supported, but auto will change to Flip Mode by default.
You should also untick the "Sending video" option under "Use hardware acceleration for".
During your teaching, you can switch between the cameras on Zoom by clicking on the arrow next to the ‘Video’ icon and selecting an appropriate camera from the drop-down. The Edify Camera will only appear if Edify Teacher is installed on your PC.

Teams Setup
To download Microsoft Teams click here. Select "Download for desktop".

Next, press the "Download Teams" button.
You'll then be asked to save a Teams_windows_x64.exe file. Press the "Save file" button.

Once the file has been downloaded, go to your downloads folder.

You will be asked to create a new account or, if you already have one, sign in.

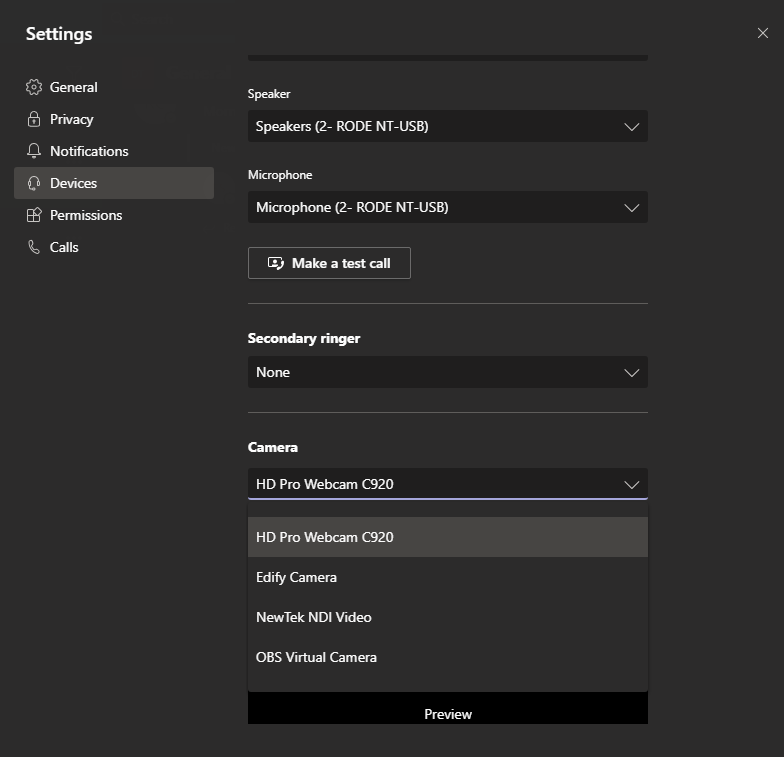
To broadcast your lessons in VR, you'll need to prepare Teams for Edify. Go to ‘Settings’ and navigate to ‘Devices’. Select ‘Edify Camera’ from the drop-down menu. Please note, this camera option will only appear if you have installed Edify.
