1.0 Release Update

Find out more about the latest updates in Edify

1.0 Release Update

The exciting 1.0 Edify update brings multiplayer and event scheduling features and completes our user interface overhaul!

Submit an issue

Consent for storing submitted data *

Thank you! Your submission has been received!
Oops! Something went wrong while submitting the form.
×

Edify Multiplayer

You can now schedule multiplayer events in Edify!

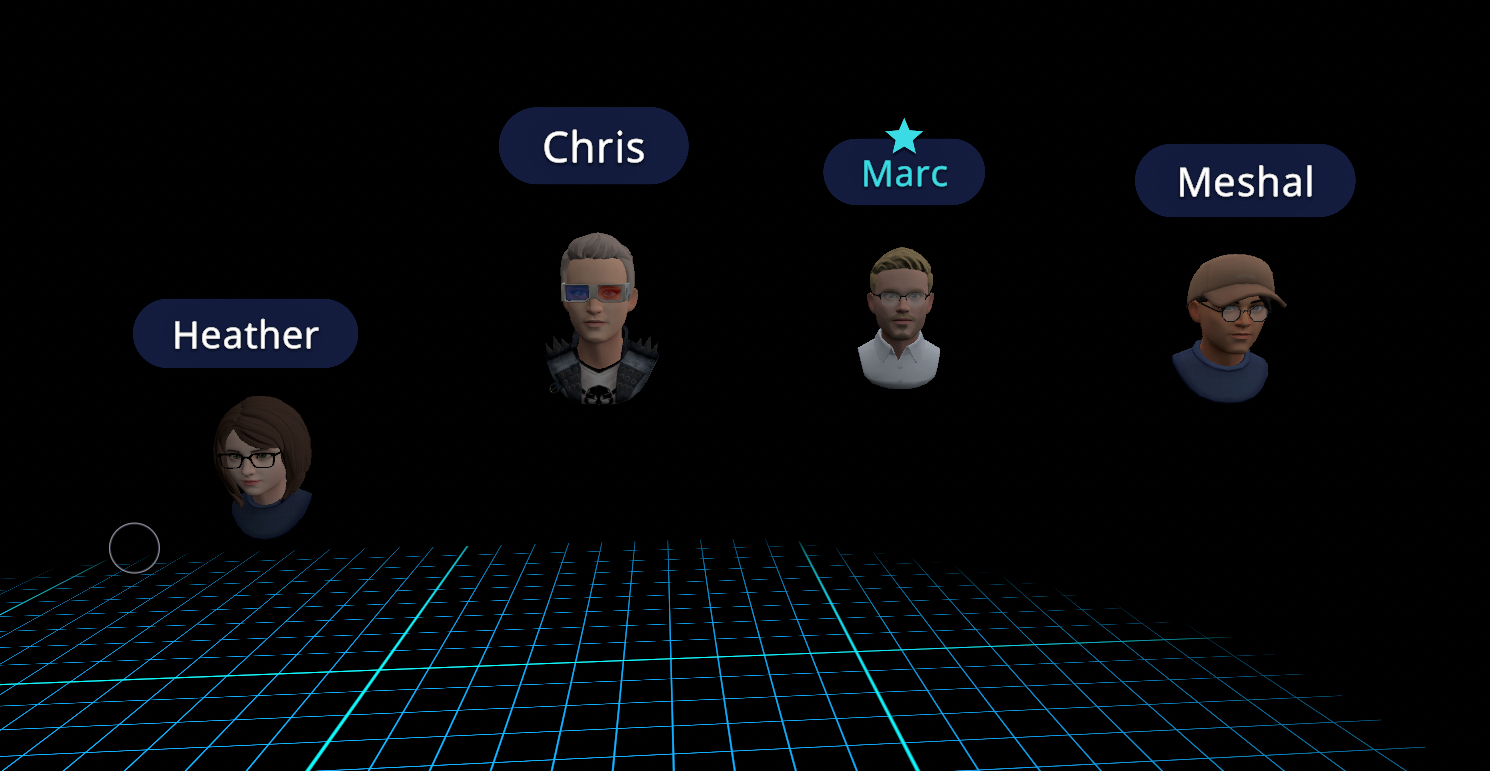
Multiplayer allows multiple people to join in the same lesson as you to share an immersive Edify experience. Upload your lesson and schedule an event, then jump in live, together in the same space in VR or desktop.  

You can also still host a lesson "by proxy" through Teams or Zoom and invite players to join your Edify session at the same time.

Edify Multiplayer

Lesson Sharing

You can now share lessons with other users and select your preferred sharing permissions.

Sharing Edify lesson files allows you to invite other users to join your immersive lesson in Multiplayer or to allow co-editing of a lesson.

To share a lesson:

  • Locate the lesson under My Library and click Upload.
  • When you click accept on the prompt the lesson will take a few minutes to upload.
  • Once upload is complete a blue tag will appear stating that it is Ready to share.
  • Click Share to either: Change the lesson sharing permissions (you can share with users that are part of your organisation or other external users); or copy the share code.

To add a lesson:

  • Copy the lesson code that was shared with you.
  • Go to the Shared tab within My Library and input the code into the text box.
  • If you encounter an error, make sure that the owner of the lesson has set the permissions to the appropriate option. For instance, you won't be able to add a lesson that is set to Organisation only if you are not also within that organisation.

Lesson Sharing

Edify Events

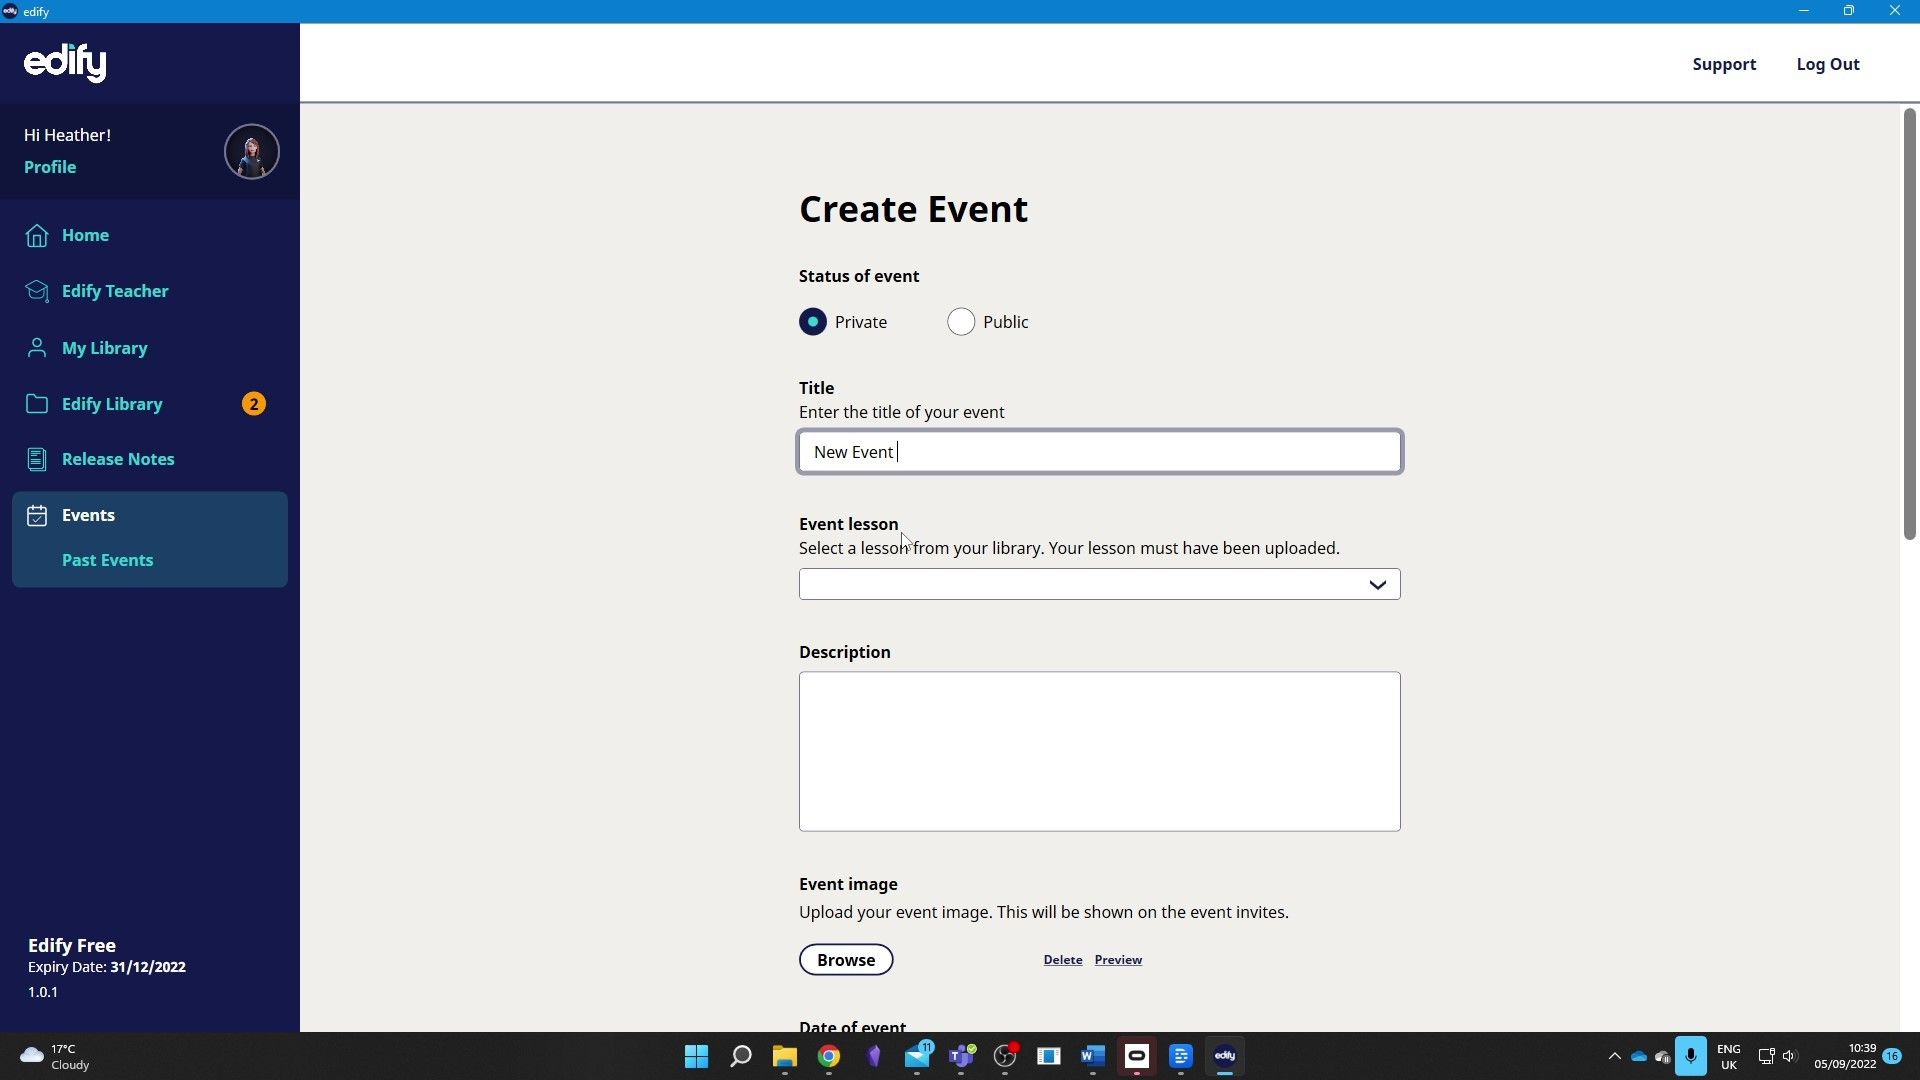
Create an Edify event to generate a multiplayer session that you can invite people to.

To create an event:

  • First you need to Upload the lesson to the Edify cloud.
  • Go to the Events tab in the launcher and click Create New. Complete the relevant information and add a lesson to the event.
  • Choose whether the event is Public or Private. In a private event, only members of your organisation can be invited, and in public events, anyone with an Edify account can be invited.
  • Type in a title and description, then attach the lesson to the event. You can also add descriptive tags to your event.
  • If you don't see the lesson in the dropdown list, double-check it has the correct permissions.
  • Add the email addresses of the people you would like to invite the event. Please make sure the people you invite have an edify account before adding them, or they won't be able to join.
  • Once you've clicked Create Event, the event will appear in your Upcoming events list.

Edify Events

UI Overhaul (Continued)

We’re continuing updates to our user interfaces in 1.0 in order to make your user experience more streamlined.

Home Panel (Desktop)

The new Home panel consolidates all the functionality of the lectern and sidebar into a new user interface.  Features accessible via the Home panel include:

  • Next Scene / Previous Scene
  • Undo / Redo
  • Open Lesson Planner
  • Media / Objects
  • Start / Stop broadcasting
  • Settings menu
  • Mute mic
  • Save
  • And more!

To access the Home Panel - hover over three-dot icon and click to expand.

Quick Access Tools (Desktop)

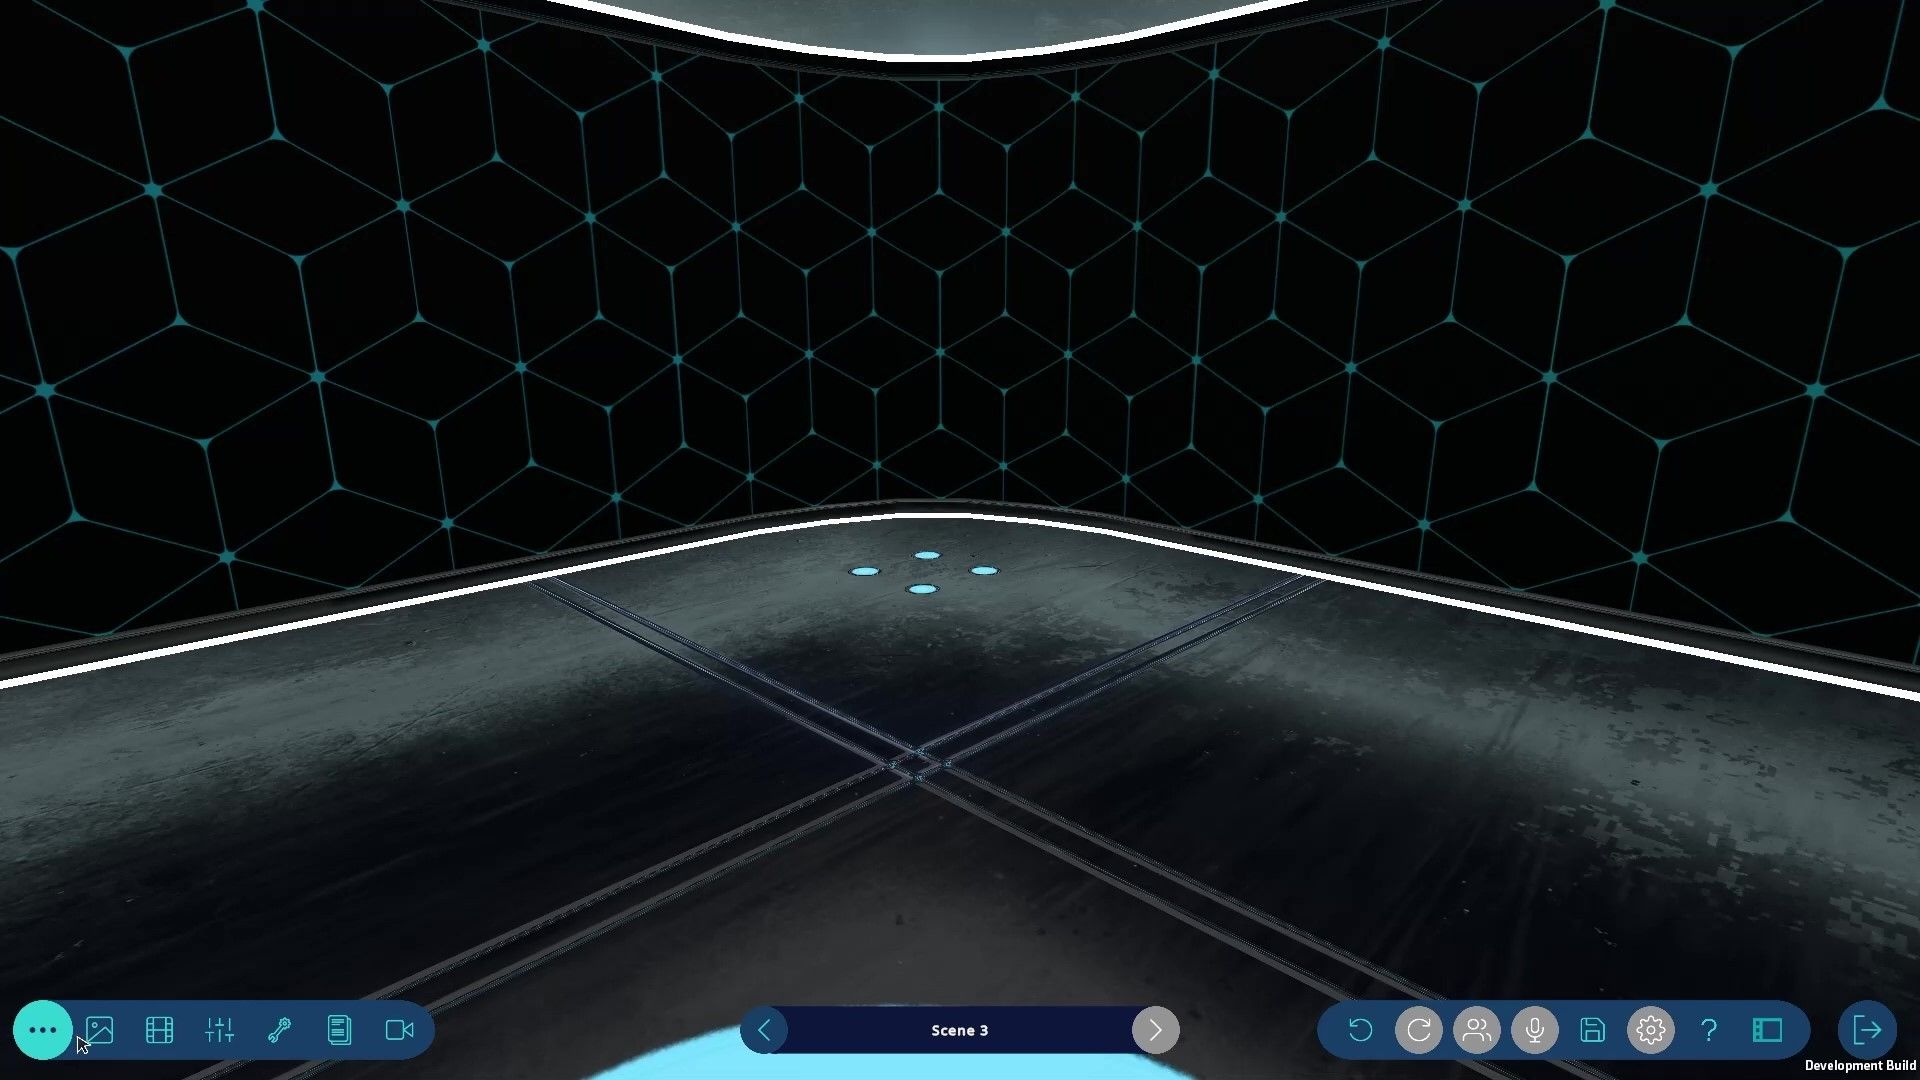
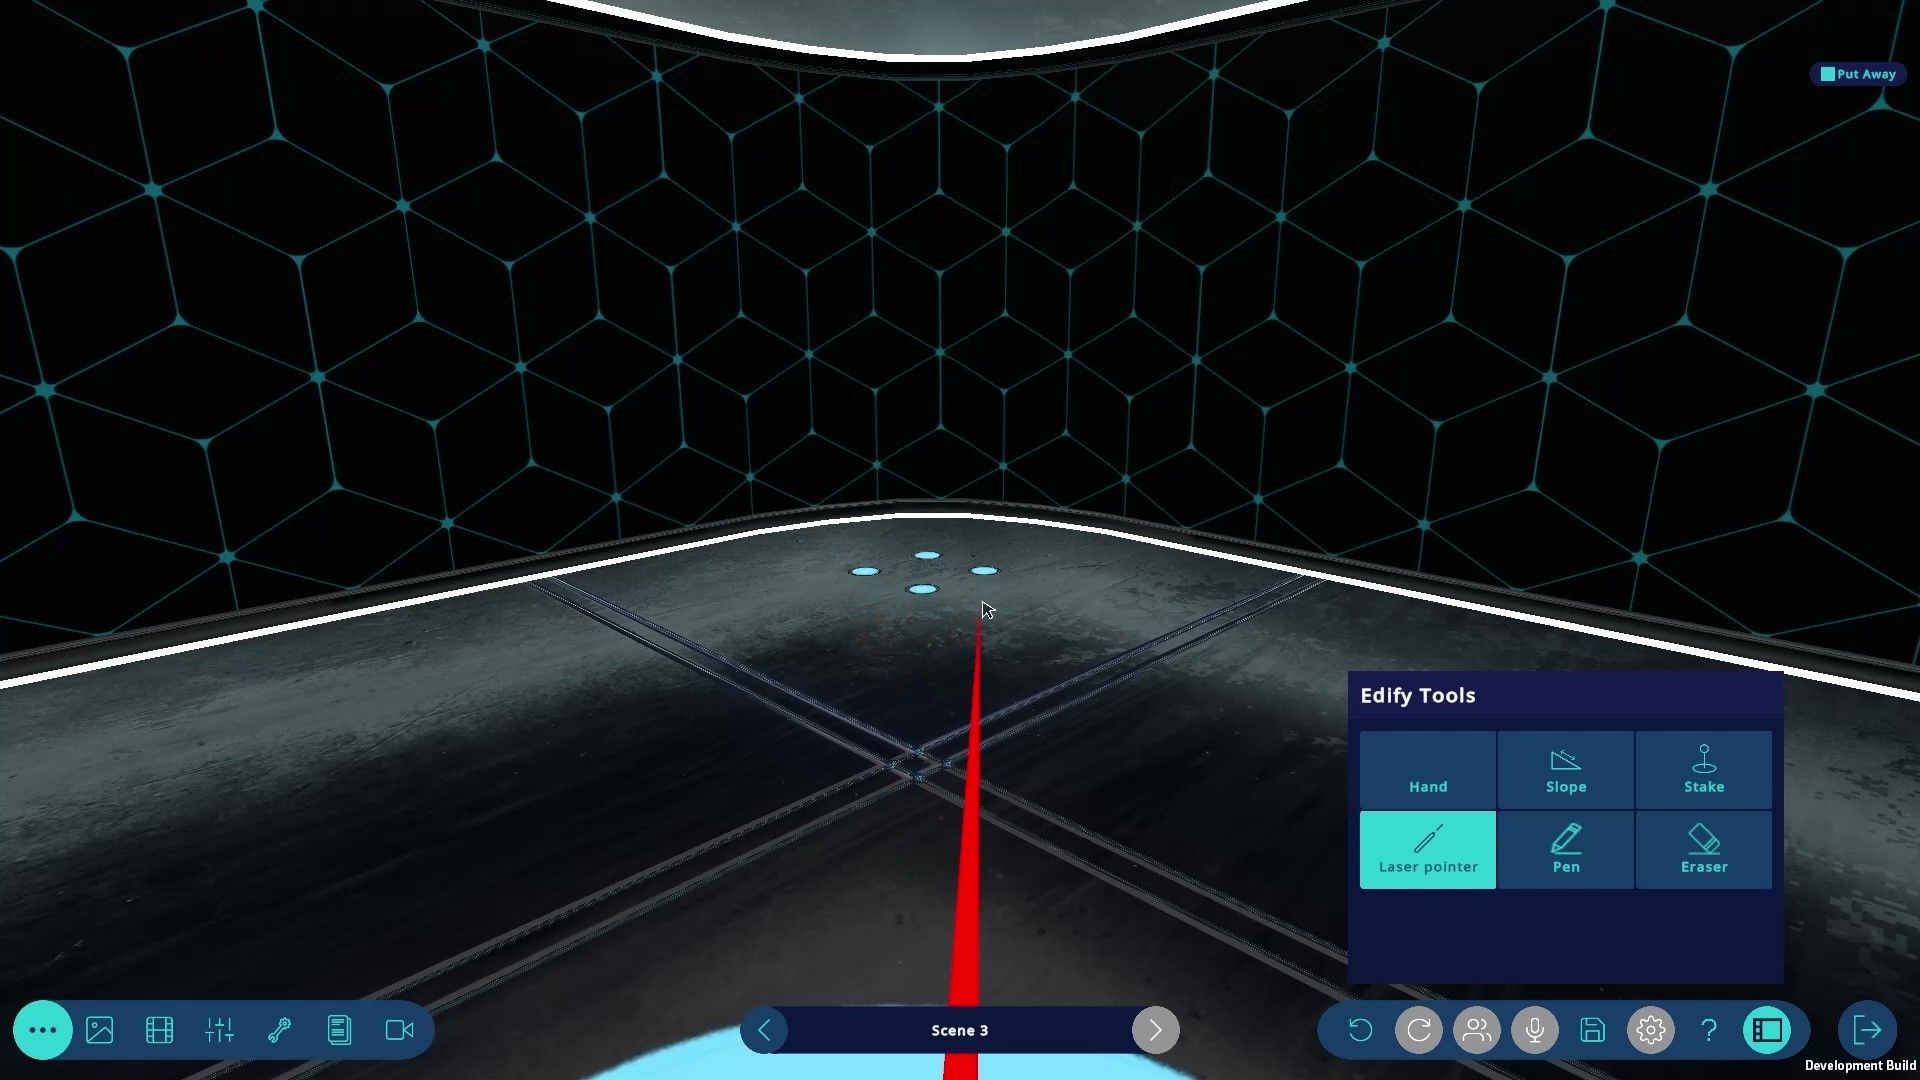
The Quick Access Tools are the new home for the quickly toggleable tools that were previously located in the lectern.

Like the rest of the Home panel, the Quick Access Tools are designed for quick and easy access to all the tools you may need for delivering your lessons, such as:  

  • Laser Pointer
  • Pen
  • Eraser
  • Slope (AEC Toolkit)
  • Stake (AEC Toolkit)

To access the Quick Access Tools - click the rectangular box icon on the bottom right of the screen.

Quick Actions Menu

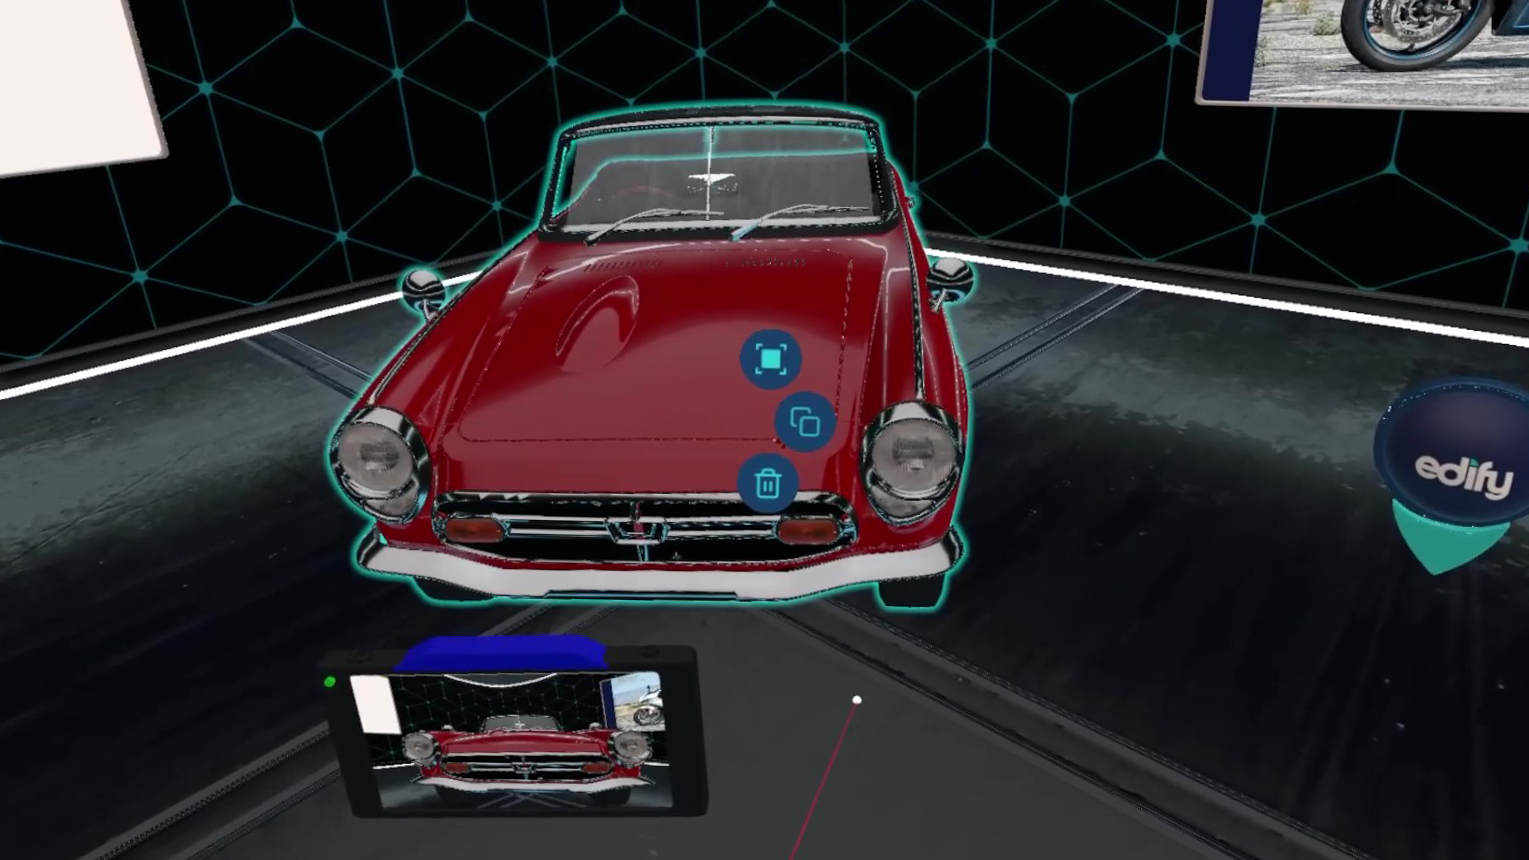
The Quick Actions Menu displays simple one-click functions you can select on a 3D model, board, camera or audio file. It appears as a radial menu with various icons you can select.

To open the Quick Actions Menu - right-click on desktop or double tap your trigger in VR.

Context Menu

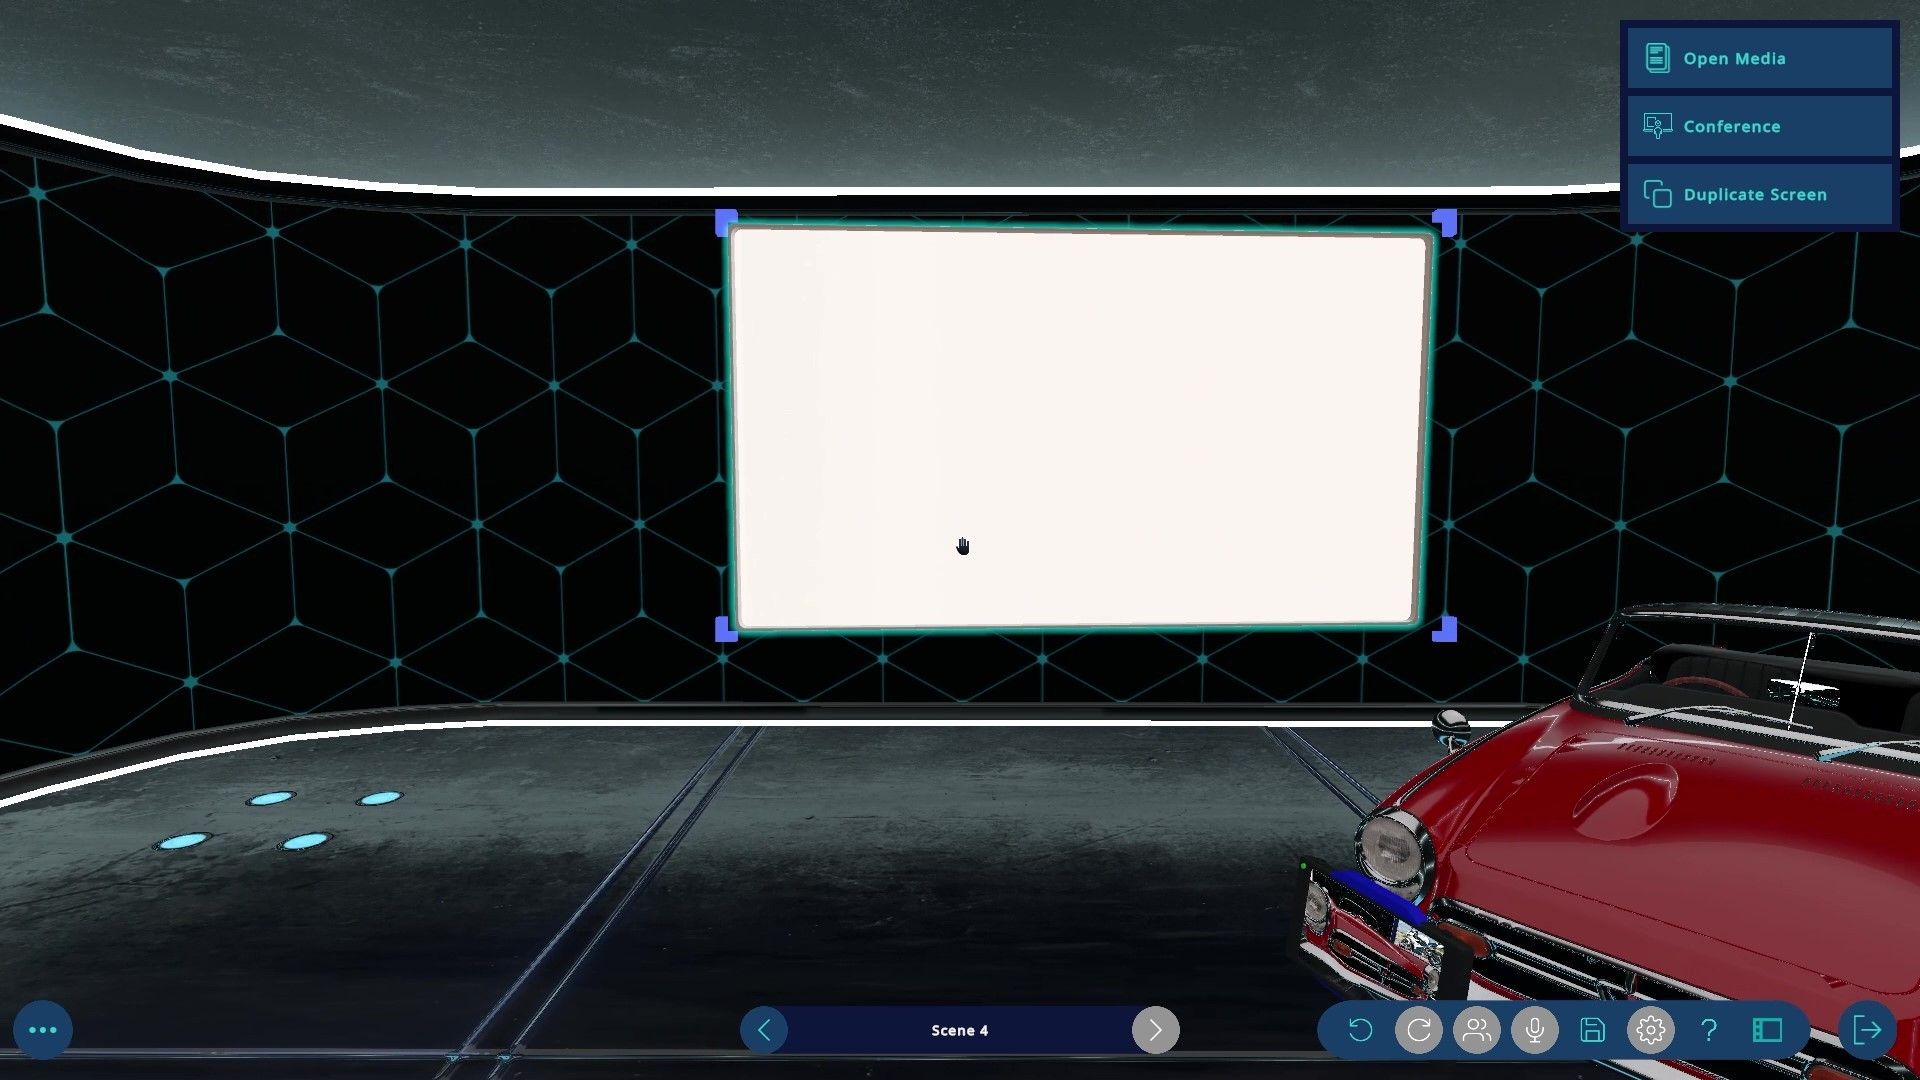
The Context Menu is where you can find more complex functions and features for a specific object or board.

It appears when an object or board is selected and can be found:

  • In VR on the left controller next to the home menu or lesson planner.
  • In desktop at the top right corner of the screen.

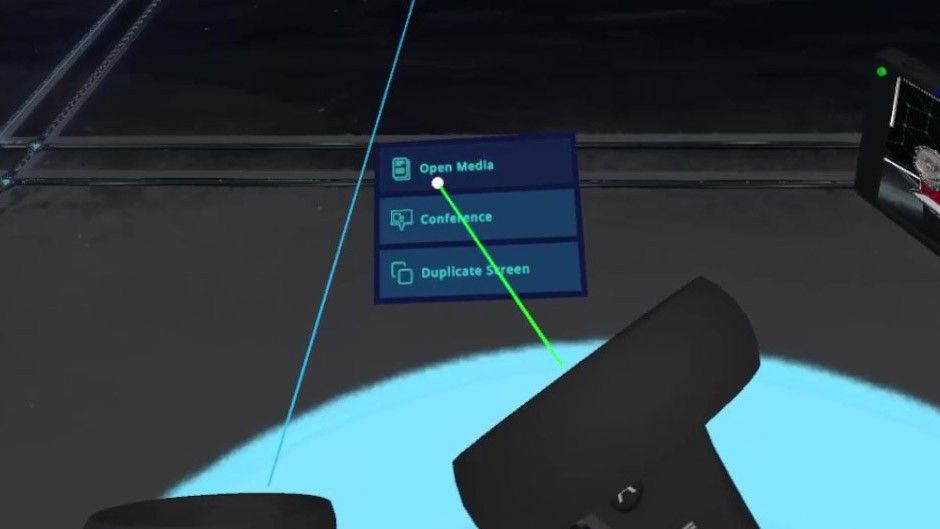
For Objects the context menu contains the slice and layers function, and for Boards the option to open media, view conference or duplicate screen.

UI Overhaul (Continued)

Can't find what you're looking for?

No problem! We're here to help.
Submit a ticket, and we'll get back to you as soon as possible.
Submit a Ticket